Appearance
How to Use Sufy's Free Storage for Regular WordPress Backups
Regular backups are crucial when operating a WordPress website. Today, I'll explain how to use Sufy's S3-compatible free storage service combined with WordPress backup plugins to achieve automated website backups. Sufy provides a permanent 10GB free storage space, which can meet the basic backup needs of most websites.
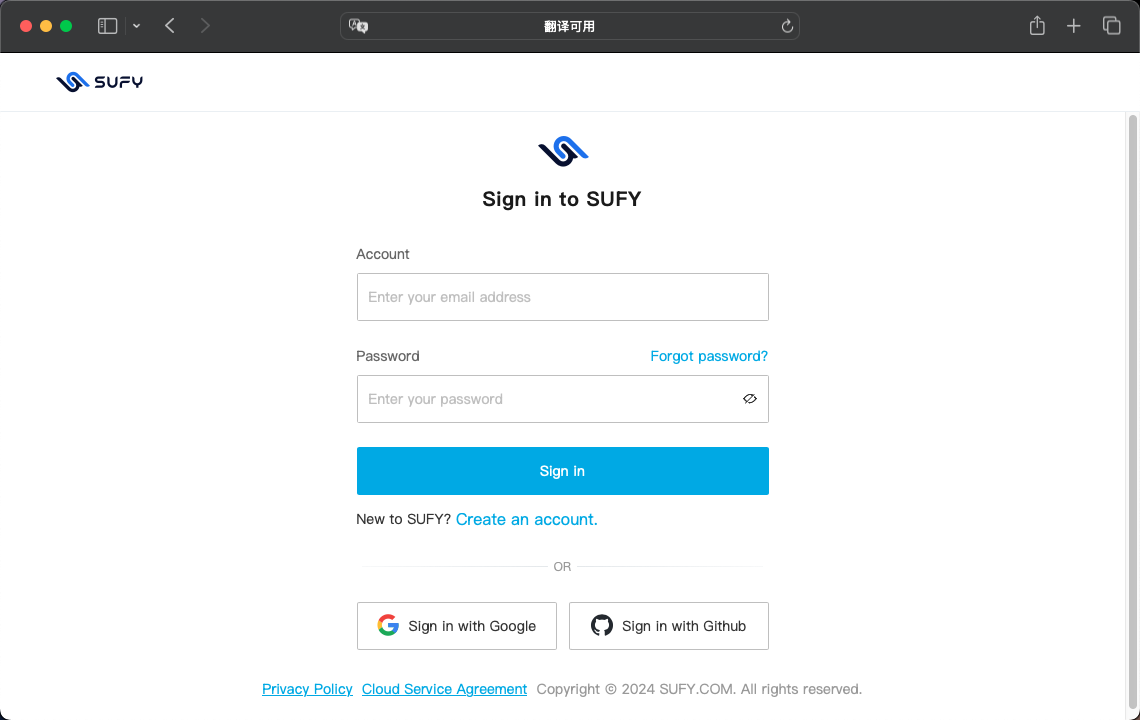 Sufy official website login page
Prerequisites
- A running WordPress site
- A Sufy account and created storage bucket
- An S3-compatible WordPress backup plugin (this tutorial uses UpdraftPlus)
Detailed Steps
Step 1: Register and Configure Sufy
- Visit Sufy's official website to register an account
- Create a new storage bucket after logging in
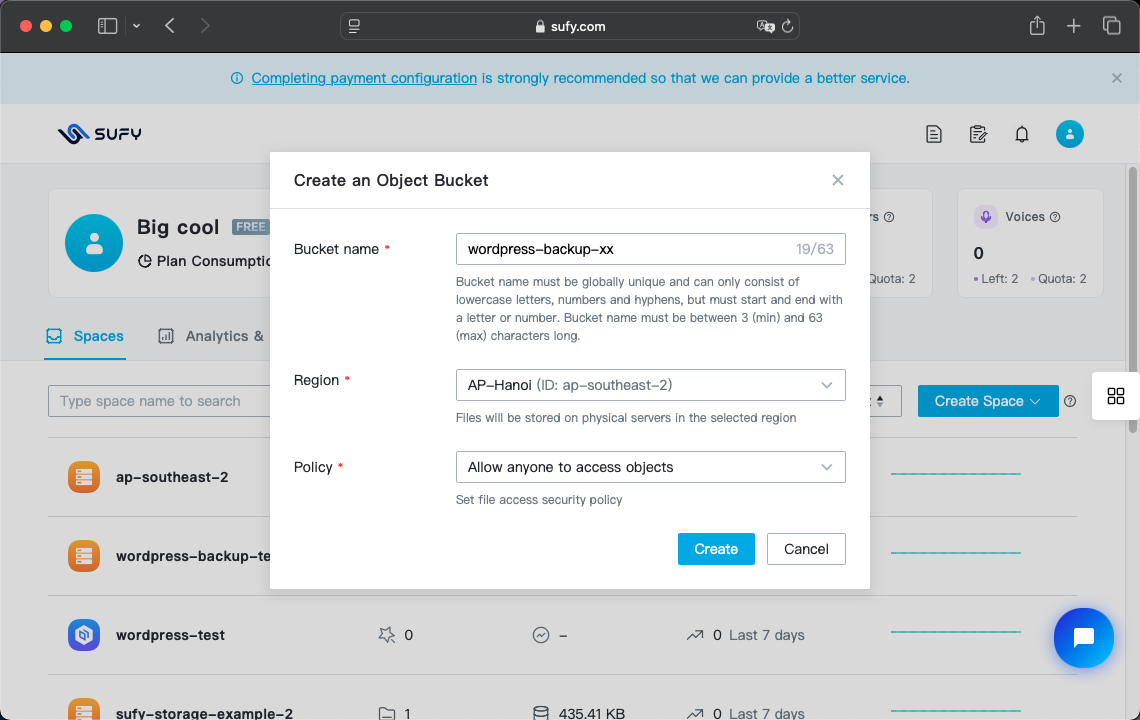 Creating a new bucket in Sufy console
- Obtain the following information from the "Access Keys" page:
- Access Key ID
- Secret Access Key
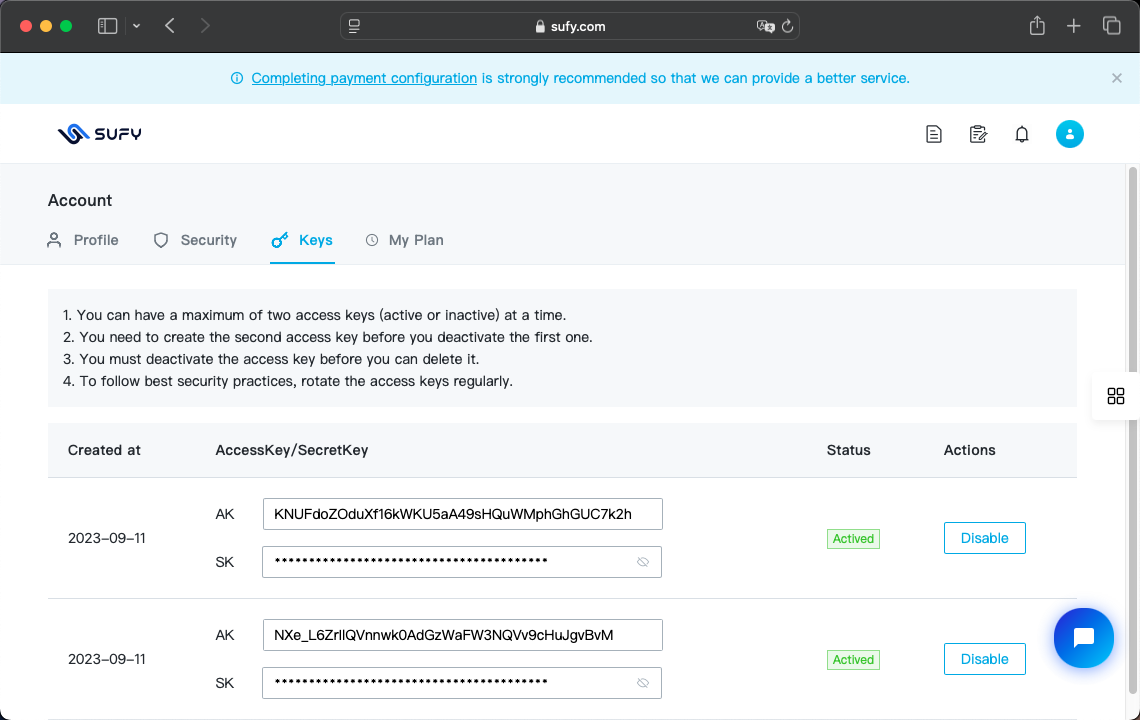 Obtaining Access Key and Secret Key
Step 2: Install and Configure UpdraftPlus
- Install UpdraftPlus plugin in WordPress backend
- Go to "Plugins > Add New"
- Search for "UpdraftPlus" and install & activate
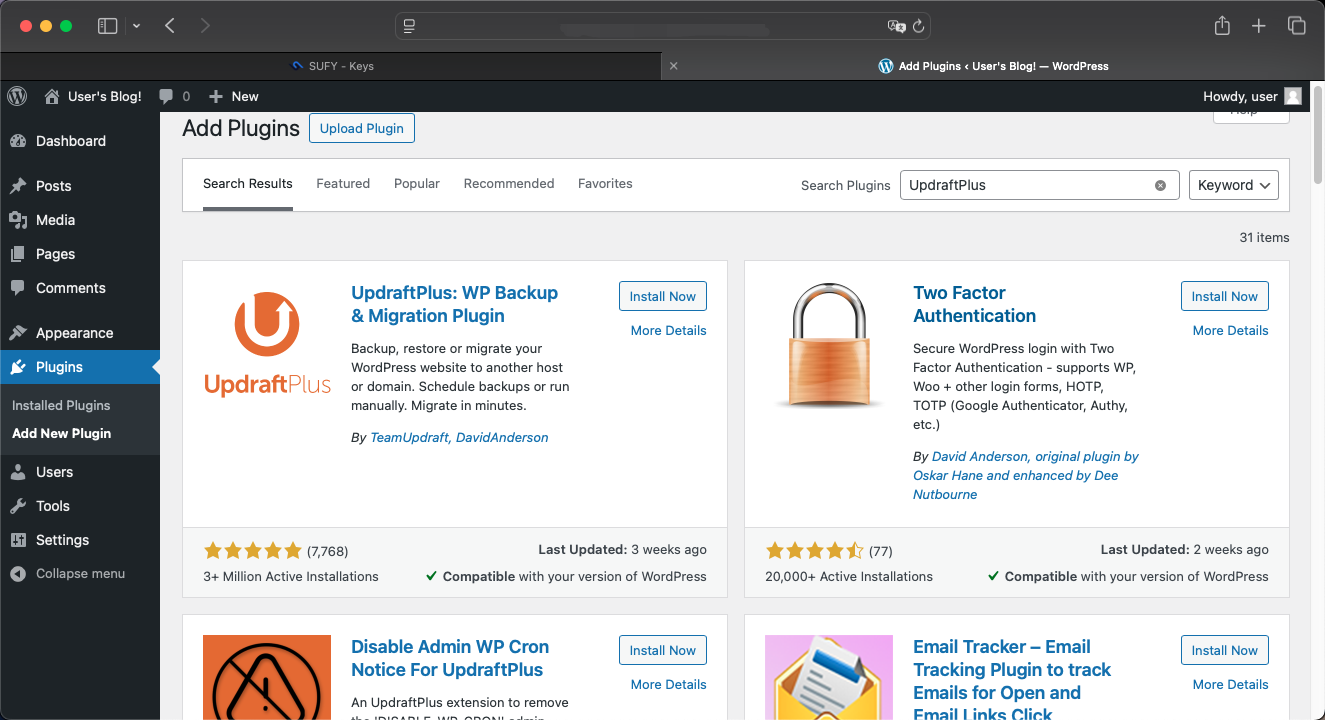 Search and install UpdraftPlus in WordPress plugin directory
- Configure S3-compatible storage:
- Go to "Settings > UpdraftPlus Backups"
- Click the "Settings" tab
- Select "S3-Compatible Storage" under "Choose your remote storage"
- Fill in the following information:
- S3 Endpoint: Sufy's Endpoint URL, view endpoints for each region
- Access Key ID: Access Key obtained from Sufy
- Secret Key: Secret Key obtained from Sufy
- Location: Your bucket name created in Sufy
- Click "Test Settings" to ensure successful connection
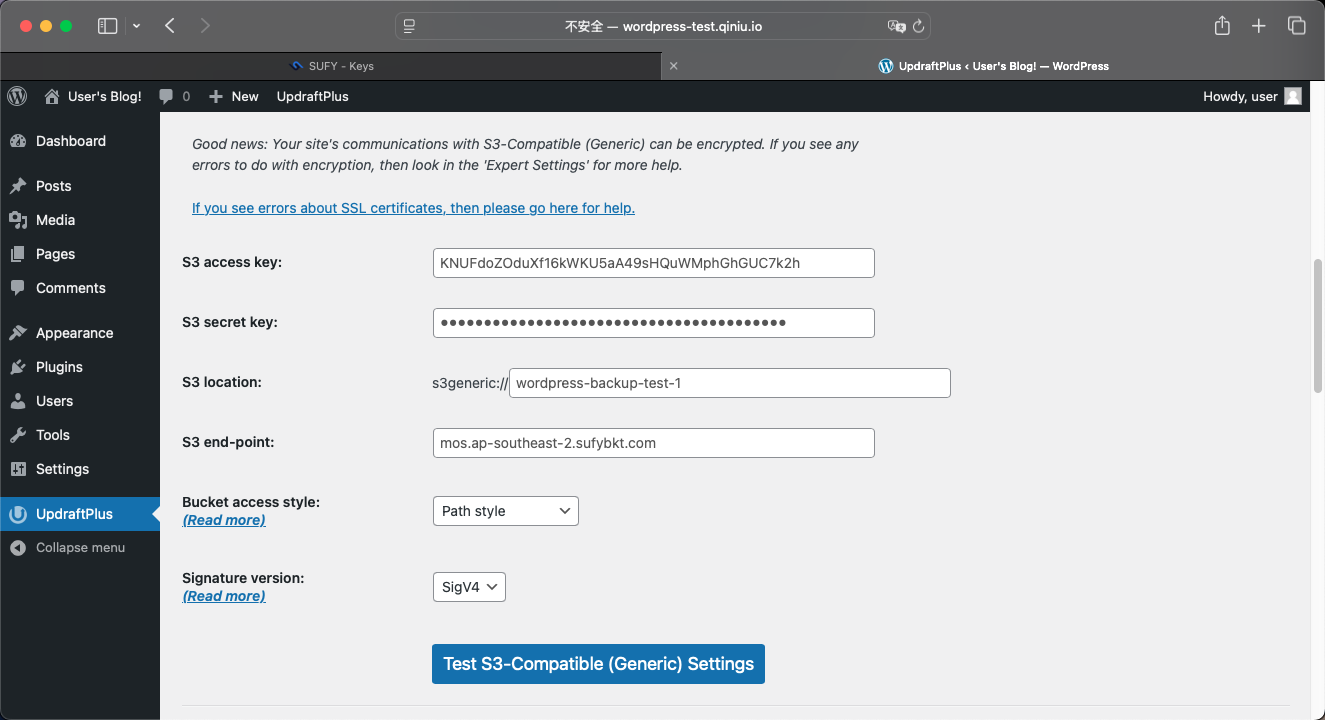 UpdraftPlus S3 storage settings interface
Step 3: Configure Automatic Backup Schedule
On the UpdraftPlus settings page:
- Set "Files backup schedule" (recommended weekly)
- Set "Database backup schedule" (recommended daily)
- Set number of backups to retain (recommend keeping 3-4 recent backups)
Configure backup contents:
- Ensure the following options are selected:
- WordPress files
- Plugin files
- Theme files
- Uploaded media files
- Database
- Ensure the following options are selected:
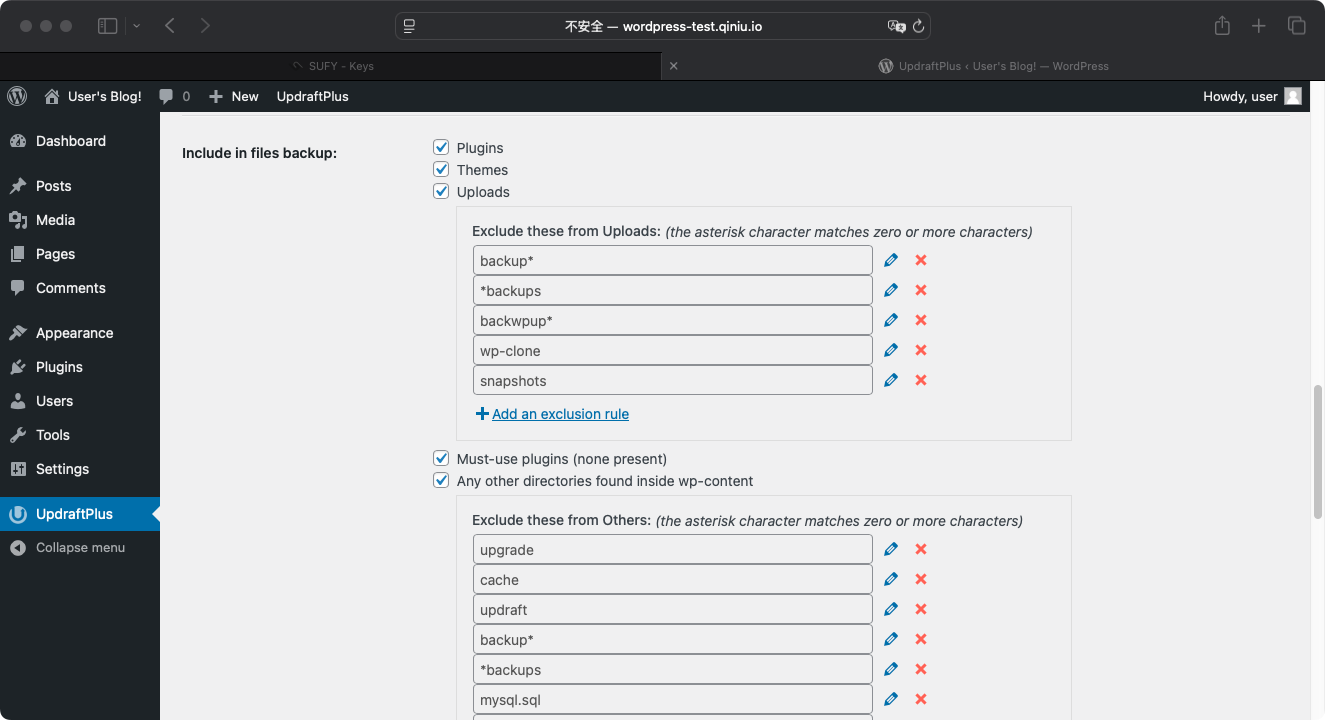 Select content to backup
Step 4: Perform Initial Backup Test
- Return to UpdraftPlus main page
- Click "Backup Now" button
- Wait for backup completion
- Check if backup files are successfully uploaded to your Sufy bucket
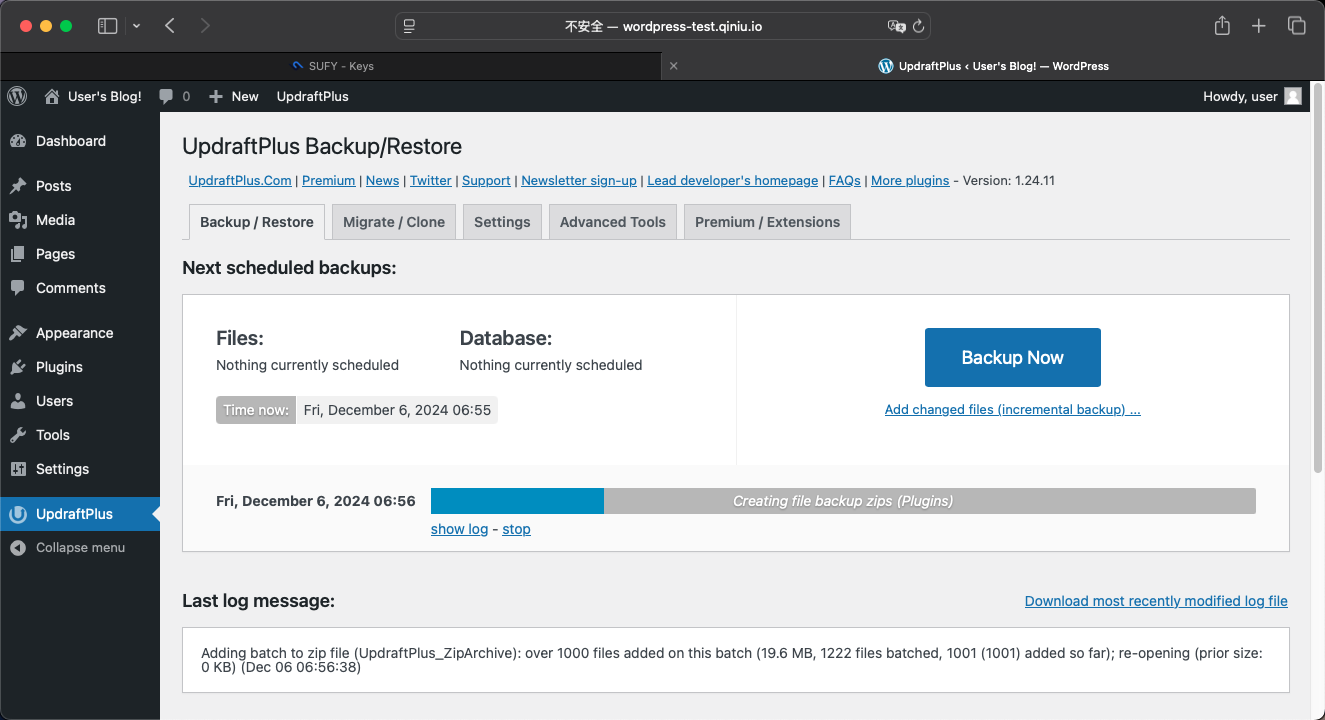 Backup progress display
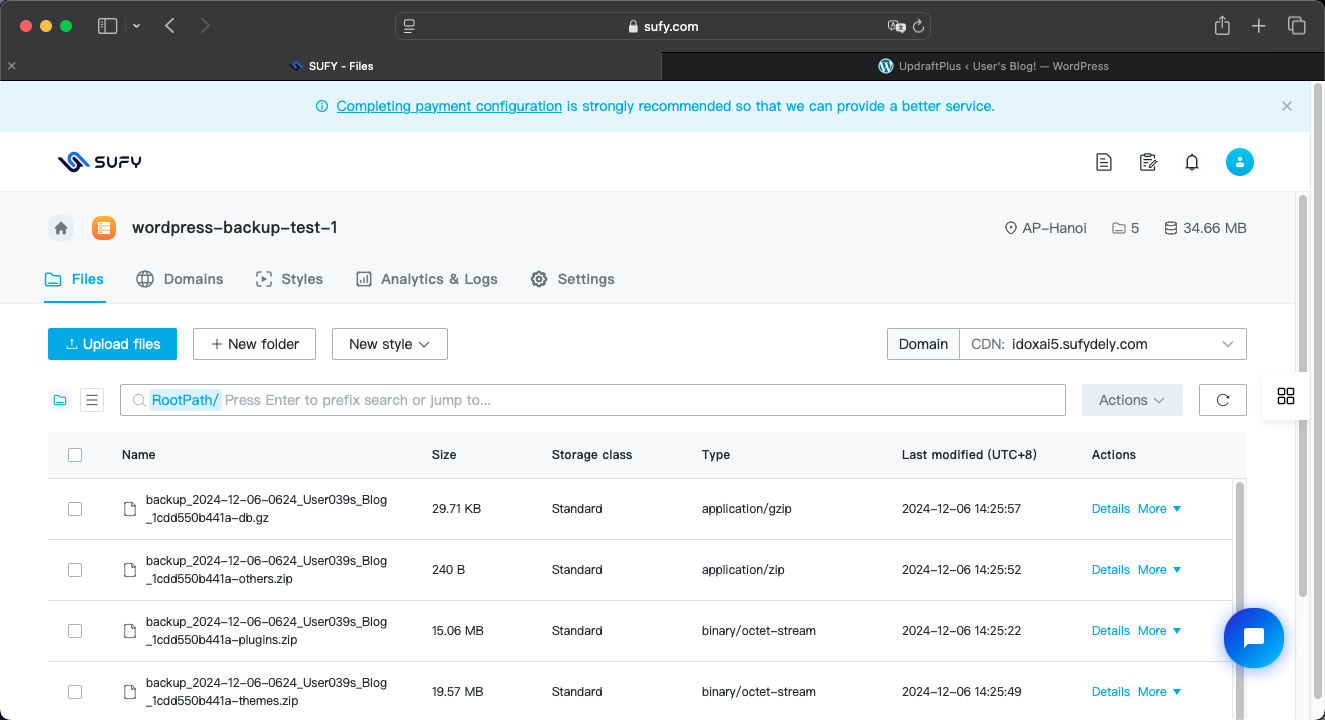 View backup files in Sufy console
Important Notes
- Regularly check if backups are executing successfully
- Recommend testing backup restoration manually once a month to ensure backups are usable
- Perform additional manual backups before important updates
Troubleshooting
If backup fails, check:
- Whether Sufy access keys are correct
- If bucket permissions are configured properly
- If WordPress site has sufficient execution time and memory limits
- Check UpdraftPlus error logs
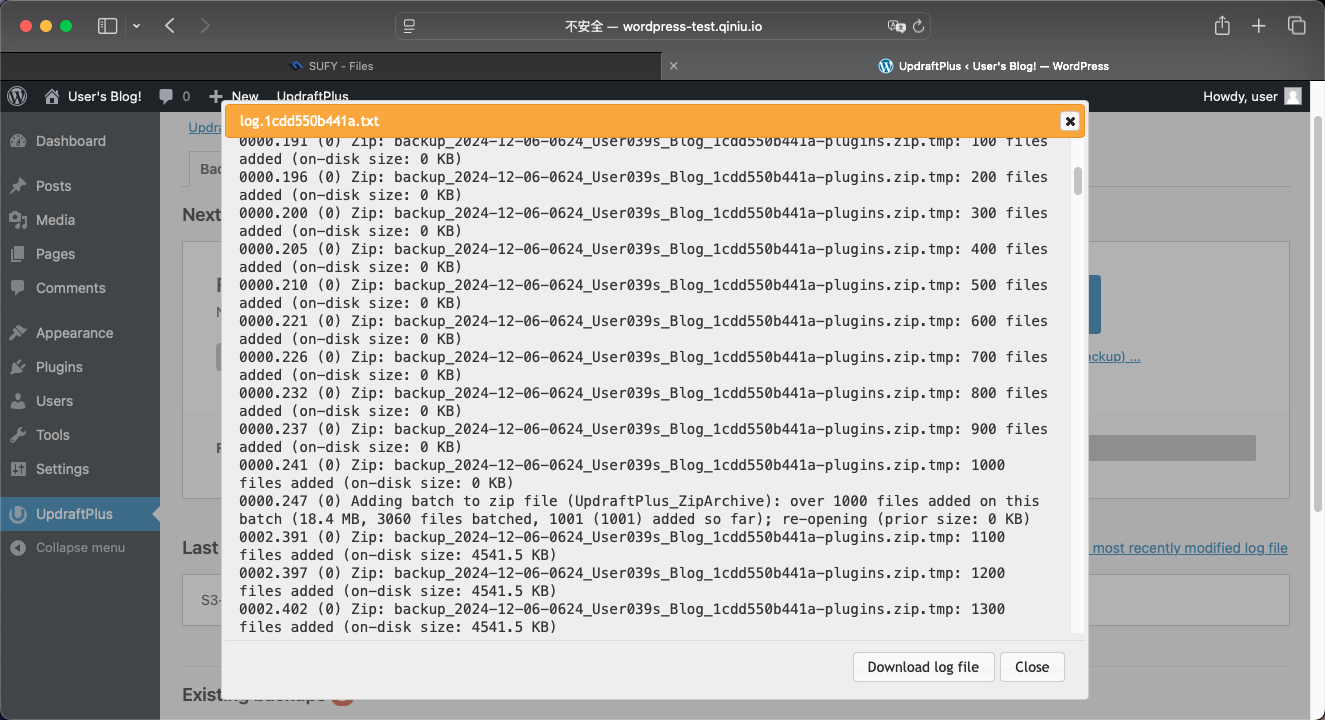 UpdraftPlus error log viewing interface
Conclusion
Through the above configuration, your WordPress website can achieve automated off-site backups. Remember to regularly check backup status to ensure your website data security.